OS: CentOS Linux release 8.2.2004 (Core)
Zabbix 5.0 LTS
MySQL: 8.0.21
CentOS8.2にZabbix5.0を導入しようと思い立って公式サイトの手順に従いながら作業をこなしていたのであるが、記載してある内容だけでは目的が達成できなかった。此れがために、幾らかのメモを付け加えながら手順に起こしなおそうというものである。

データベースのインストールとセットアップ
Zabbixサーバのインストール前に、使用するデータベースを予めインストールしておかなければならない。MySQLを使用する心づもりでいたからそのように段取りする。
$ sudo dnf install mysql-server
$ sudo systemctl enable mysqld.service
Created symlink /etc/systemd/system/multi-user.target.wants/mysqld.service → /usr/lib/systemd/system/mysqld.service.
$ sudo systemctl start mysqld.service
rootユーザのパスワードをセットしたり不要なデータベースの削除を簡便にこなすために mysql_secure_installation を実行する。最初にパスワード強度を検証するためのコンポーネントのセットアップが始まる。
$ sudo mysql_secure_installation
(snip)
VALIDATE PASSWORD COMPONENT can be used to test passwords
and improve security. It checks the strength of password
and allows the users to set only those passwords which are
secure enough. Would you like to setup VALIDATE PASSWORD component?

Press y|Y for Yes, any other key for No: y
強度を検証するポリシーとして選択できるのはLOW・MEDIUM・STRONGの3種類があって、それぞれは次のような条件を要求する。
| ポリシー | 条件 |
|---|---|
| LOW | 8文字以上 |
| MEDIUM | LOWの条件に加えて数字と大文字小文字と記号が必要 |
| STRONG | MEDIUMの条件に加え辞書ファイルの単語にマッチしてはならない |
There are three levels of password validation policy:

LOW    Length >= 8
MEDIUM Length >= 8, numeric, mixed case, and special characters
STRONG Length >= 8, numeric, mixed case, special characters and dictionary file

Please enter 0 = LOW, 1 = MEDIUM and 2 = STRONG: 0
Please set the password for root here.
(snip)
パスワードをセットしたら次へ移る。デフォルトでMySQLは誰もがログインできる匿名ユーザが作成されるから本番環境では削除すべきというメッセージが表示されるけれども、パッケージからインストールしたMySQLにはそのようなユーザを見つけることができなかった。然し乍ら念の為、削除するよう要請する。
By default, a MySQL installation has an anonymous user,
allowing anyone to log into MySQL without having to have
a user account created for them. This is intended only for
testing, and to make the installation go a bit smoother.
You should remove them before moving into a production
environment.

Remove anonymous users? (Press y|Y for Yes, any other key for No) : y
次いで、rootユーザがリモートから接続する権利を剥奪するか聞かれる。此れも先と同様にパッケージインストールのMySQLには見当たらないけれども一応、Yesと応じる。
Normally, root should only be allowed to connect from
'localhost'. This ensures that someone cannot guess at
the root password from the network.

Disallow root login remotely? (Press y|Y for Yes, any other key for No) : y
testデータベースとそれへのアクセス権もやはり存在しないけれど削除するよう選択肢に答える。
By default, MySQL comes with a database named 'test' that
anyone can access. This is also intended only for testing,
and should be removed before moving into a production
environment.

Remove test database and access to it? (Press y|Y for Yes, any other key for No) : y
最後に設定を反映する。
(snip)
Reload privilege tables now? (Press y|Y for Yes, any other key for No) : y
Zabbixサーバのインストールとセットアップ
そうしたらZabbixの公式サイトの手引2番目にある作業を執り行う。Zabbixのリポジトリを登録し、Zabbixサーバとフロントエンド、Zabbixエージェントをインストールする。
$ sudo rpm -Uvh https://repo.zabbix.com/zabbix/5.0/rhel/8/x86_64/zabbix-release-5.0-1.el8.noarch.rpm
$ sudo dnf clean all
$ sudo dnf install zabbix-server-mysql zabbix-web-mysql zabbix-apache-conf zabbix-agent
続いてzabbixデータベースを作成する。文字コードや照合順序の指定がUTF8MB3であるために警告が出ているけれども、此れを修正するにはスキーマファイルに手を入れる必要が生じそうであるし、そも絵文字を使用する計画がないからそのままにしておいた。
$ mysql -uroot -p
mysql> create database zabbix character set utf8 collate utf8_bin;
Query OK, 1 row affected, 2 warnings (0.00 sec)

mysql> show warnings;
+---------+------+-----------------------------------------------------------------------------------------------------------------------------------------------------------------------------+
| Level   | Code | Message                                                                                                                                                                     |
+---------+------+-----------------------------------------------------------------------------------------------------------------------------------------------------------------------------+
| Warning | 3719 | 'utf8' is currently an alias for the character set UTF8MB3, but will be an alias for UTF8MB4 in a future release. Please consider using UTF8MB4 in order to be unambiguous. |
| Warning | 3778 | 'utf8_bin' is a collation of the deprecated character set UTF8MB3. Please consider using UTF8MB4 with an appropriate collation instead.                                     |
+---------+------+-----------------------------------------------------------------------------------------------------------------------------------------------------------------------------+
2 rows in set (0.00 sec)
引き続きzabbixユーザの作成、パスワード・権限の設定を実施してMySQLにまつわる設定は終いである。
mysql> create user zabbix@localhost identified by 'p@ssw0rd';
mysql> grant all privileges on zabbix.* to zabbix@localhost;
mysql> quit;
それからスキーマファイルからデータベースにまつわる諸々をインポートする。
$ zcat /usr/share/doc/zabbix-server-mysql*/create.sql.gz | mysql -uzabbix -p zabbix
Enter password:
Zabbixサーバの設定ファイルに手を入れる。最低限、編集する必要のある箇所はデータベースへの接続パスワードである。
$ sudo vi /etc/zabbix/zabbix_server.conf
# DBPassword=
DBPassword=p@ssw0rd
タイムゾーンの設定をよしなに書き換える。
$ sudo vi /etc/php-fpm.d/zabbix.conf
; php_value[date.timezone] = Europe/Riga
php_value[date.timezone] = Asia/Tokyo
公式サイトの手引ではこのあといよいよZabbixサーバやエージェントなどの起動を手掛けるけれども、zabbix-serverだけが起動しないのであればSELinuxが有効で且つ、適当な設定が施されていない疑いがつよい。
$ sudo systemctl restart zabbix-server zabbix-agent httpd php-fpm
Job for zabbix-server.service failed because the control process exited with error code.
See "systemctl status zabbix-server.service" and "journalctl -xe" for details.
さりとてSELinuxの設定についてはZabbixの公式サイトで触れられていない。SELinuxはまったくの門外漢であるから設定を無効にするより手立てがなかった。
$ sudo vi /etc/sysconfig/selinux
#SELINUX=enforcing
SELINUX=disabled
$ sudo reboot

$ getenforce
Disabled
これでようやっとzabbix-serverも起動するようになった。
$ sudo systemctl restart zabbix-server zabbix-agent httpd php-fpm
$ sudo systemctl enable zabbix-server zabbix-agent httpd php-fpm
Created symlink /etc/systemd/system/multi-user.target.wants/zabbix-server.service → /usr/lib/systemd/system/zabbix-server.service.
Created symlink /etc/systemd/system/multi-user.target.wants/zabbix-agent.service → /usr/lib/systemd/system/zabbix-agent.service.
Created symlink /etc/systemd/system/multi-user.target.wants/httpd.service → /usr/lib/systemd/system/httpd.service.
Created symlink /etc/systemd/system/multi-user.target.wants/php-fpm.service → /usr/lib/systemd/system/php-fpm.service.
これで安心しきってブラウザから http://server_ip_or_name/zabbix へアクセスしたら、ちっとも繋がらなくて肩を落とす事例を幾らか見聞した。そういう場合はfirewalldが80番や10051番ポートへのアクセスを遮断しているケースが殆どであった。
前段に設置されたファイアウォールによってZabbixサーバが保護されているからfirewalldは不要、という場合ならまったく止めてしまってもよいからこうである。
$ sudo systemctl disable firewalld.service
$ sudo systemctl stop firewalld.service
一方でfirewalldをおいそれと無効にはできない環境であれば、ひとまず下記の設定を投入することでZabbixフロントエンドへアクセスが可能になる。
$ sudo firewall-cmd --zone=public --add-service=http --permanent
$ sudo firewall-cmd --zone=public --add-port=10051/tcp --permanent
$ sudo firewall-cmd --reload
$ sudo firewall-cmd --list-all
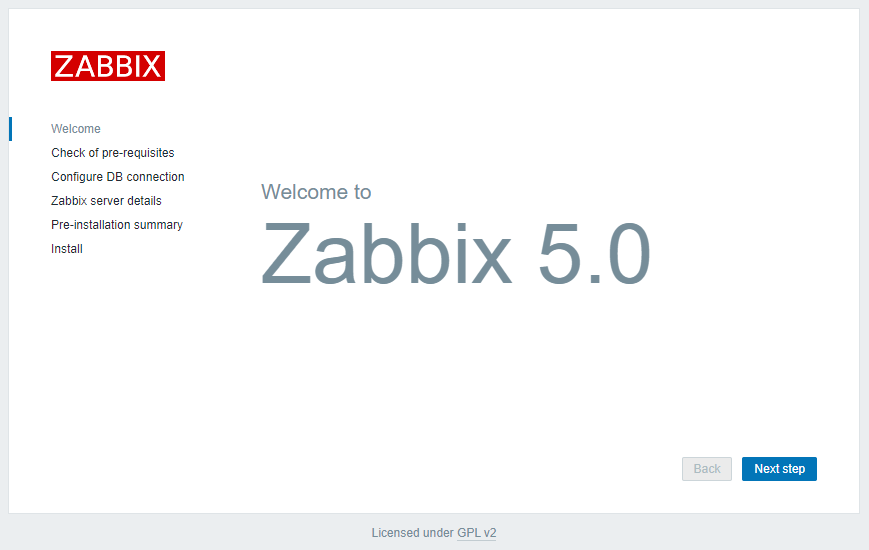
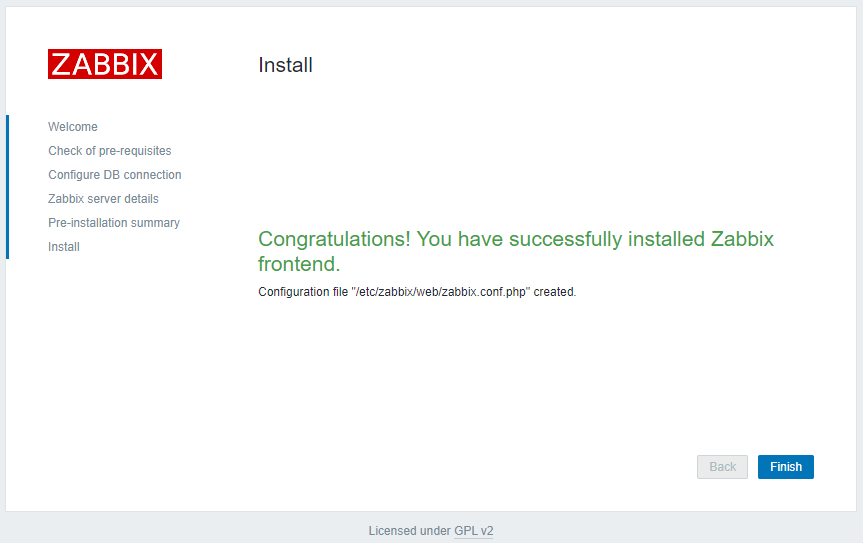
PHP環境のチェックやデータベースの設定などを経て遂にインストールが完了する。
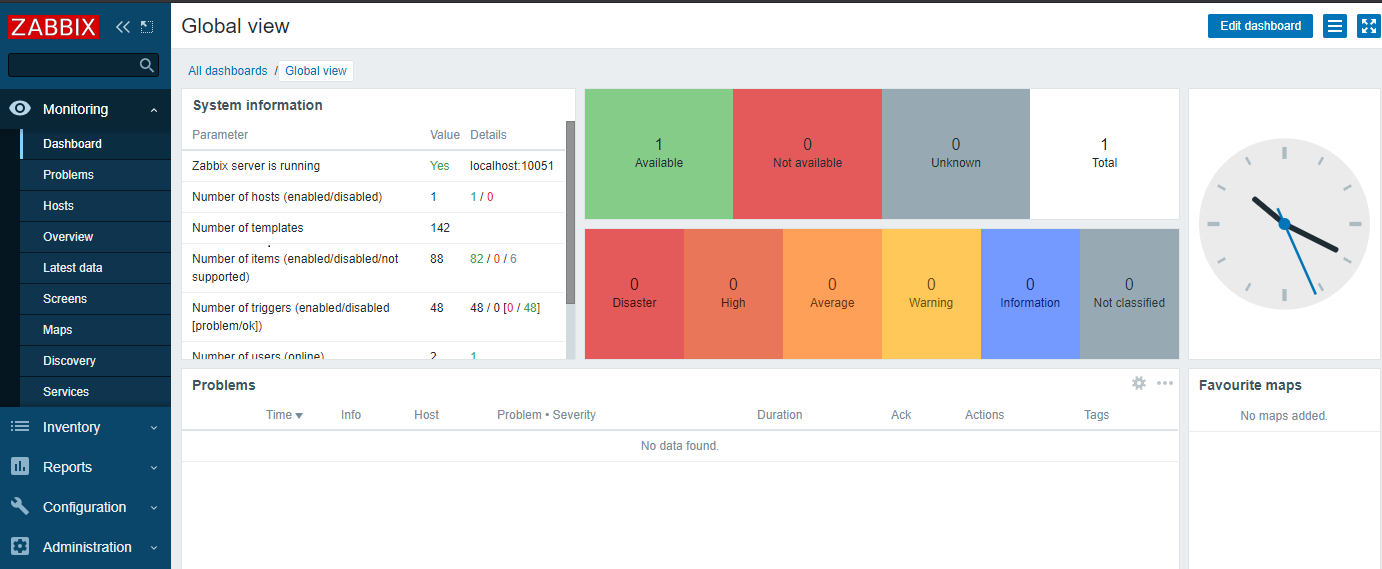
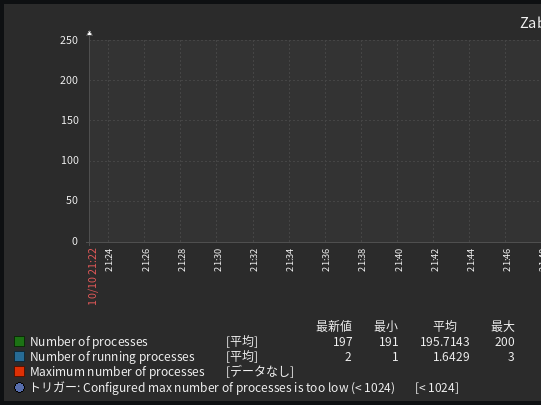
初期状態ではAdminユーザが用意されており、パスワードは「zabbix」 でログインが可能である。事ここに至ってようやくzabbixのインストールは完了であるけれども、言語設定を日本語にするとさらなる問題に見舞われる。すなわちグラフの文字化けである。
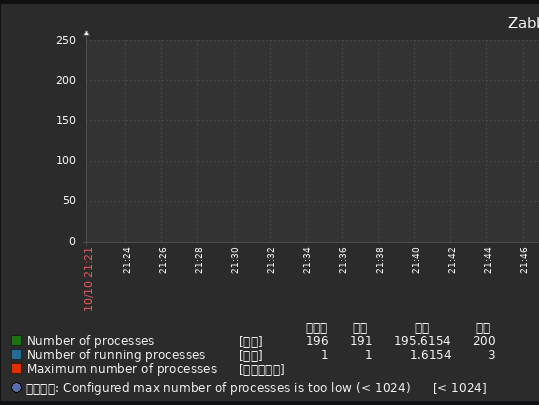
これは容易に解決できて、zabbix-web-japaneseパッケージをインストールするだけでよろしい。
$ sudo dnf install zabbix-web-japanese
インストールが完了した時点で文字化けは解消されるからzabbix-serverの再起動などは不要であった。